Last spring, my garden looked exactly like something nobody would photograph on purpose. Patchy grass, overgrown edges, a sad cluster of pots with plants that had long given up. I kept telling myself I would sort it out when I had more time, more money, or more inspiration. What I actually needed was a clear starting point. If you have been asking yourself, “How do I upgrade my garden without tearing everything up and starting from scratch?” you are in the right place.
This guide covers the changes that deliver the most visible impact for the least amount of effort and expense. No landscape architect required.
Start With a Clear-Out Before You Add Anything
Here is what nobody tells you about garden upgrades: the most transformative thing you can do costs nothing. A thorough clear-out, done properly, makes even an average garden look intentional.
Pull the weeds out by the root rather than cutting them at the surface. Edge every bed with a half-moon edger or a sharp spade. The clean line between lawn and border does more visual work than most people expect. Clear out dead plant material, broken pots, and anything that has accumulated without purpose. Take a photograph afterward. You will be surprised how much better it already looks before a single new plant goes in.
This step also reveals what you are actually working with. Bare soil, hidden drainage problems, the true shape of your lawn. Once you can see the space clearly, every decision you make next becomes more deliberate and more effective.
Define Your Zones and Give Each One a Purpose
One of the most common reasons gardens feel chaotic rather than curated is that they lack definition. Everything bleeds into everything else. Lawn runs into beds, beds run into the fence, and the eye has nowhere to rest.
Defining zones fixes this. You do not need hard landscaping or expensive materials to do it. A simple gravel path that separates the lawn from a seating area creates immediate structure. A row of low box hedging or ornamental grasses creates a visual boundary between planting zones. Even a change in ground material, from lawn to bark chip to paving, tells the eye that one area ends and another begins.
Think about how you actually use your garden. Do you want a seating area for morning coffee? A productive growing patch? A space where children can play? A visual garden you mostly enjoy from inside the house? Assigning each zone a clear purpose prevents the design from feeling like a collection of random decisions.
Upgrade Your Planting With Layered Structure
Most garden borders that look flat and uninspiring have the same problem: everything is roughly the same height. Adding vertical layers is the single most effective planting upgrade you can make.
The classic structure works in tiers. Tall plants at the back or center, medium plants in the middle, low ground-cover plants at the front. This creates depth, hides bare soil, and ensures something is always contributing visually regardless of the season.
Plants Worth Investing In for Instant Structure
Tall layer: Verbena bonariensis, ornamental grasses like Miscanthus sinensis, or climbing roses trained on a simple obelisk all add immediate height without overwhelming a modest space.
Mid layer: Salvias, rudbeckias, and hardy geraniums fill out the middle ground reliably and require minimal intervention once established.
Ground cover: Creeping thyme, ajuga, or low sedums suppress weeds, soften edges, and look intentional in a way that bare soil never does.
Repeating two or three plant varieties throughout a border creates rhythm and makes even a small space feel designed rather than assembled.
Focus on the Details That Photograph Well
Instagram has changed the way people think about garden design, and not entirely in a bad way. The details that look good in photographs are usually the details that make a garden feel genuinely considered in real life too.
A few targeted investments make a disproportionate difference here.
Planters and pots: Swap out cracked or mismatched plastic pots for two or three large containers in a consistent material. Terracotta, aged zinc, and matte black ceramics all read as intentional choices. Group them in odd numbers and vary the heights.
Lighting: Solar stake lights have improved dramatically in the last two years. A few placed along a path or nestled into a border create atmosphere after dark and cost almost nothing to run. String lights draped over a pergola or along a fence extend the usability of an outdoor space into the evening and add warmth that no amount of planting can replicate.
Hardware and fixings: Rusty gate hinges, a weathered fence latch, and a cracked house number plate are details most people ignore but that visitors register subconsciously. Replacing these small items costs very little and lifts the overall impression of the space.
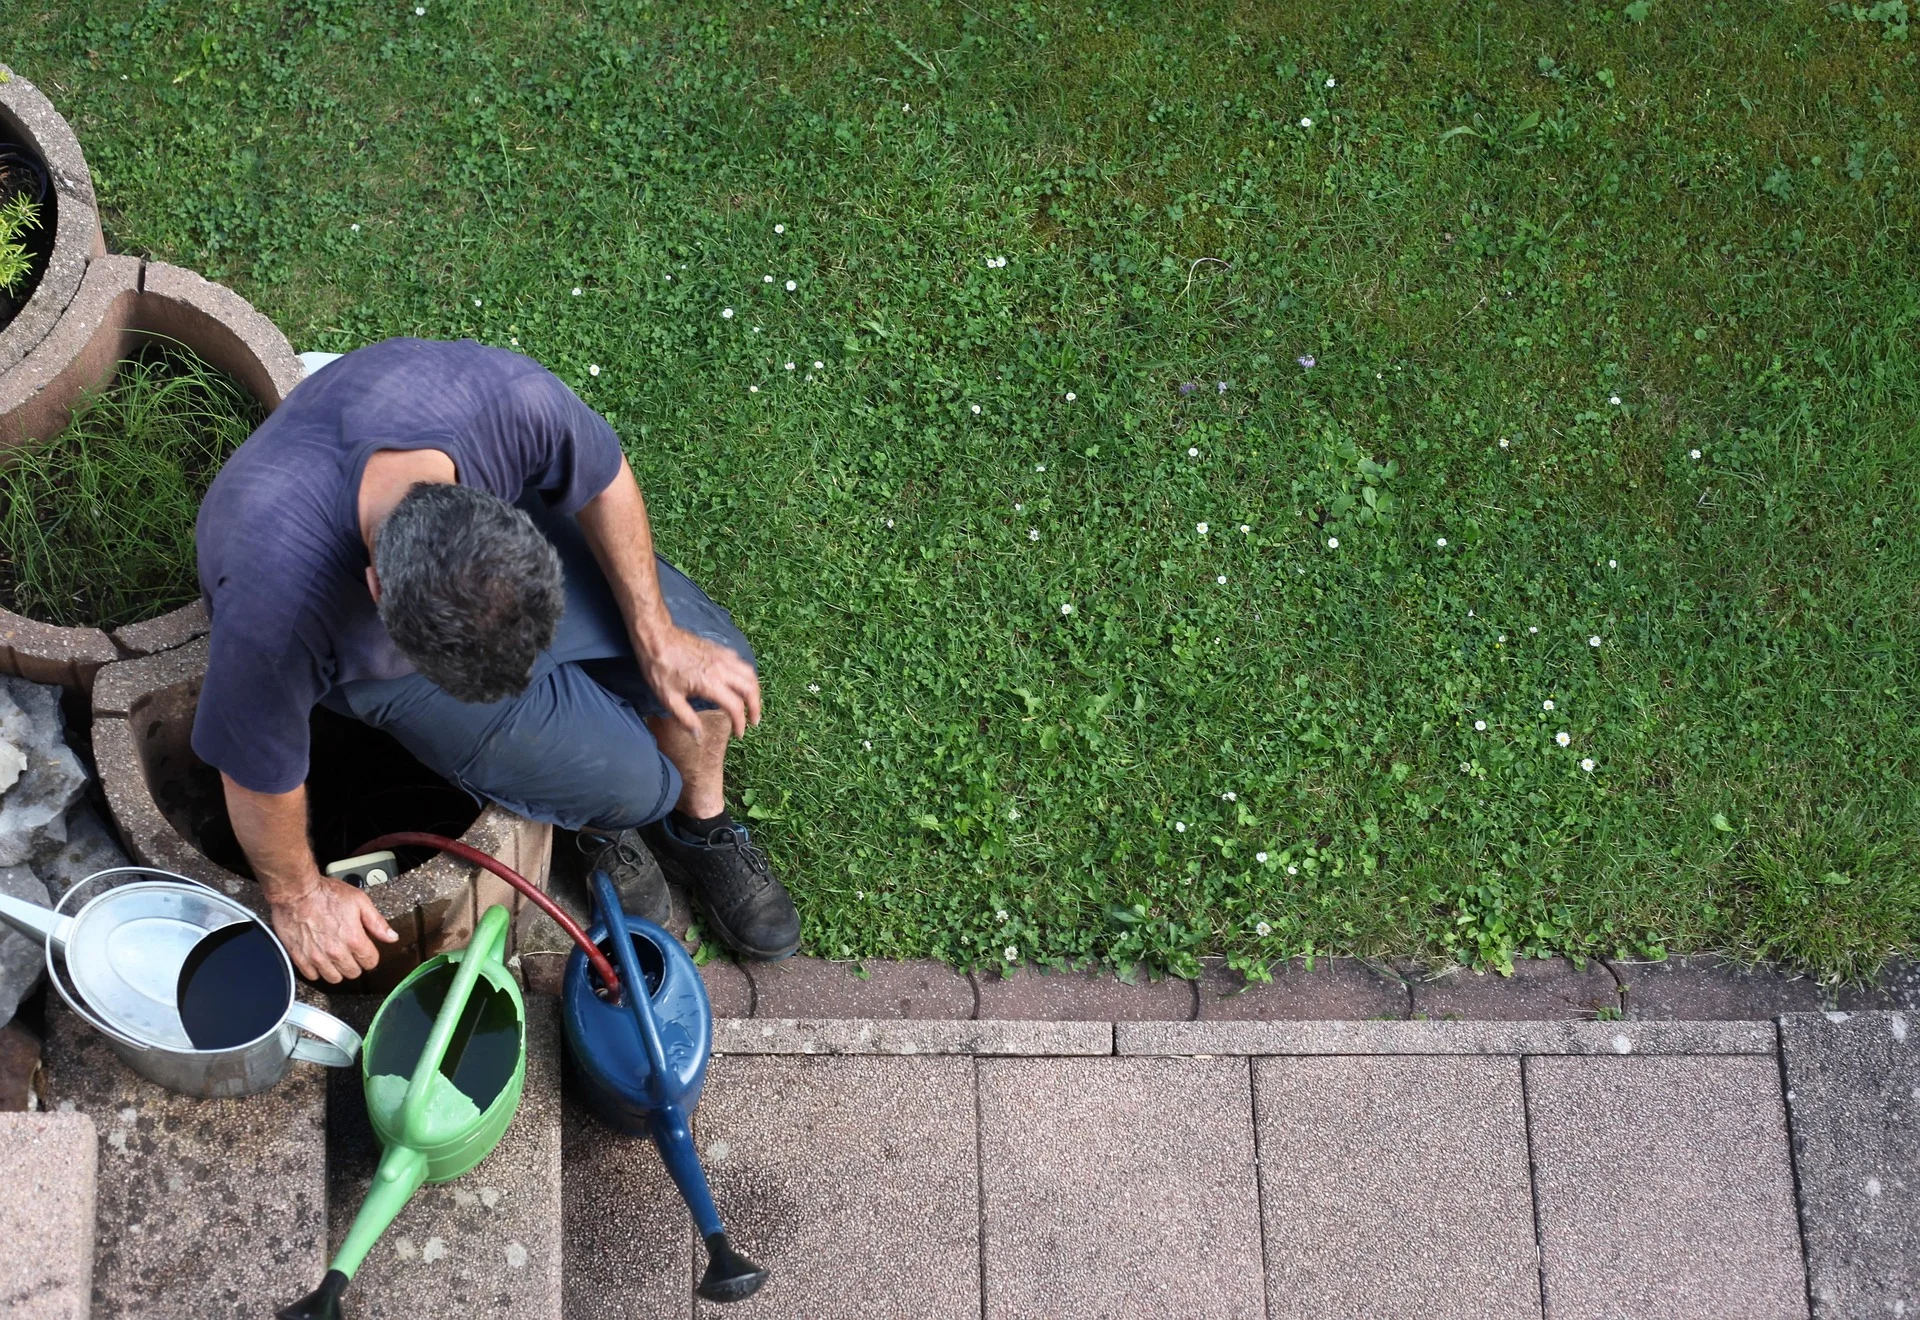
Tackle the Lawn or Replace It Entirely
A patchy, weedy lawn drags down an otherwise good garden more than almost anything else. The honest advice here depends entirely on how bad the damage is and what you actually want from your outdoor space.
For lawns with reasonable coverage but visible weeds and thin patches, a spring feed, weed treatment, and overseeding in September will produce noticeable results within one season. Scarifying in autumn removes the thatch that prevents new growth from establishing. These are weekend tasks that cost under $50 in materials and deliver genuine results.
For lawns that are more weed than grass, or for gardeners who simply do not want to maintain turf, alternatives have become genuinely attractive. Artificial grass has improved considerably in quality and now comes in realistic textures that hold up well to traffic and look convincing year-round. A gravel garden planted with drought-tolerant species requires almost no maintenance once established and can be visually striking in the right setting.
A lawn replacement is a bigger upfront investment but eliminates a recurring maintenance task that many people dread. For small gardens especially, removing the lawn entirely and replacing it with a combination of paving, gravel, and raised beds often produces a more usable and attractive result.
Add a Focal Point That Draws the Eye
Every garden that feels finished has at least one clear focal point. Something the eye moves toward when you first look at the space. Without one, the gaze wanders without settling and the garden never quite feels complete.
A focal point does not need to be expensive or elaborate. A well-placed large pot with a dramatic plant. A simple water feature. A painted garden wall or fence panel in a deep, considered color. A single specimen tree or large shrub positioned deliberately. An arch draped with a climbing rose.
The key is that it reads as a choice. Something placed there on purpose, not left there by accident. Once you have your focal point, arrange everything else in the space to support rather than compete with it.
Build or Invest in a Seating Area Worth Using
A garden that gets used regularly feels alive in a way that a purely decorative space never does. The single upgrade most likely to change how often you actually spend time outdoors is a seating area that is genuinely comfortable.
This does not require a large budget. A second-hand bistro table and two chairs, sanded and repainted in a color that works with your planting, positioned on a level surface with a simple outdoor rug underneath, creates a destination within the garden. Add a small side table for drinks and a lantern or two, and the space becomes somewhere you actively want to spend time rather than somewhere you occasionally pass through.
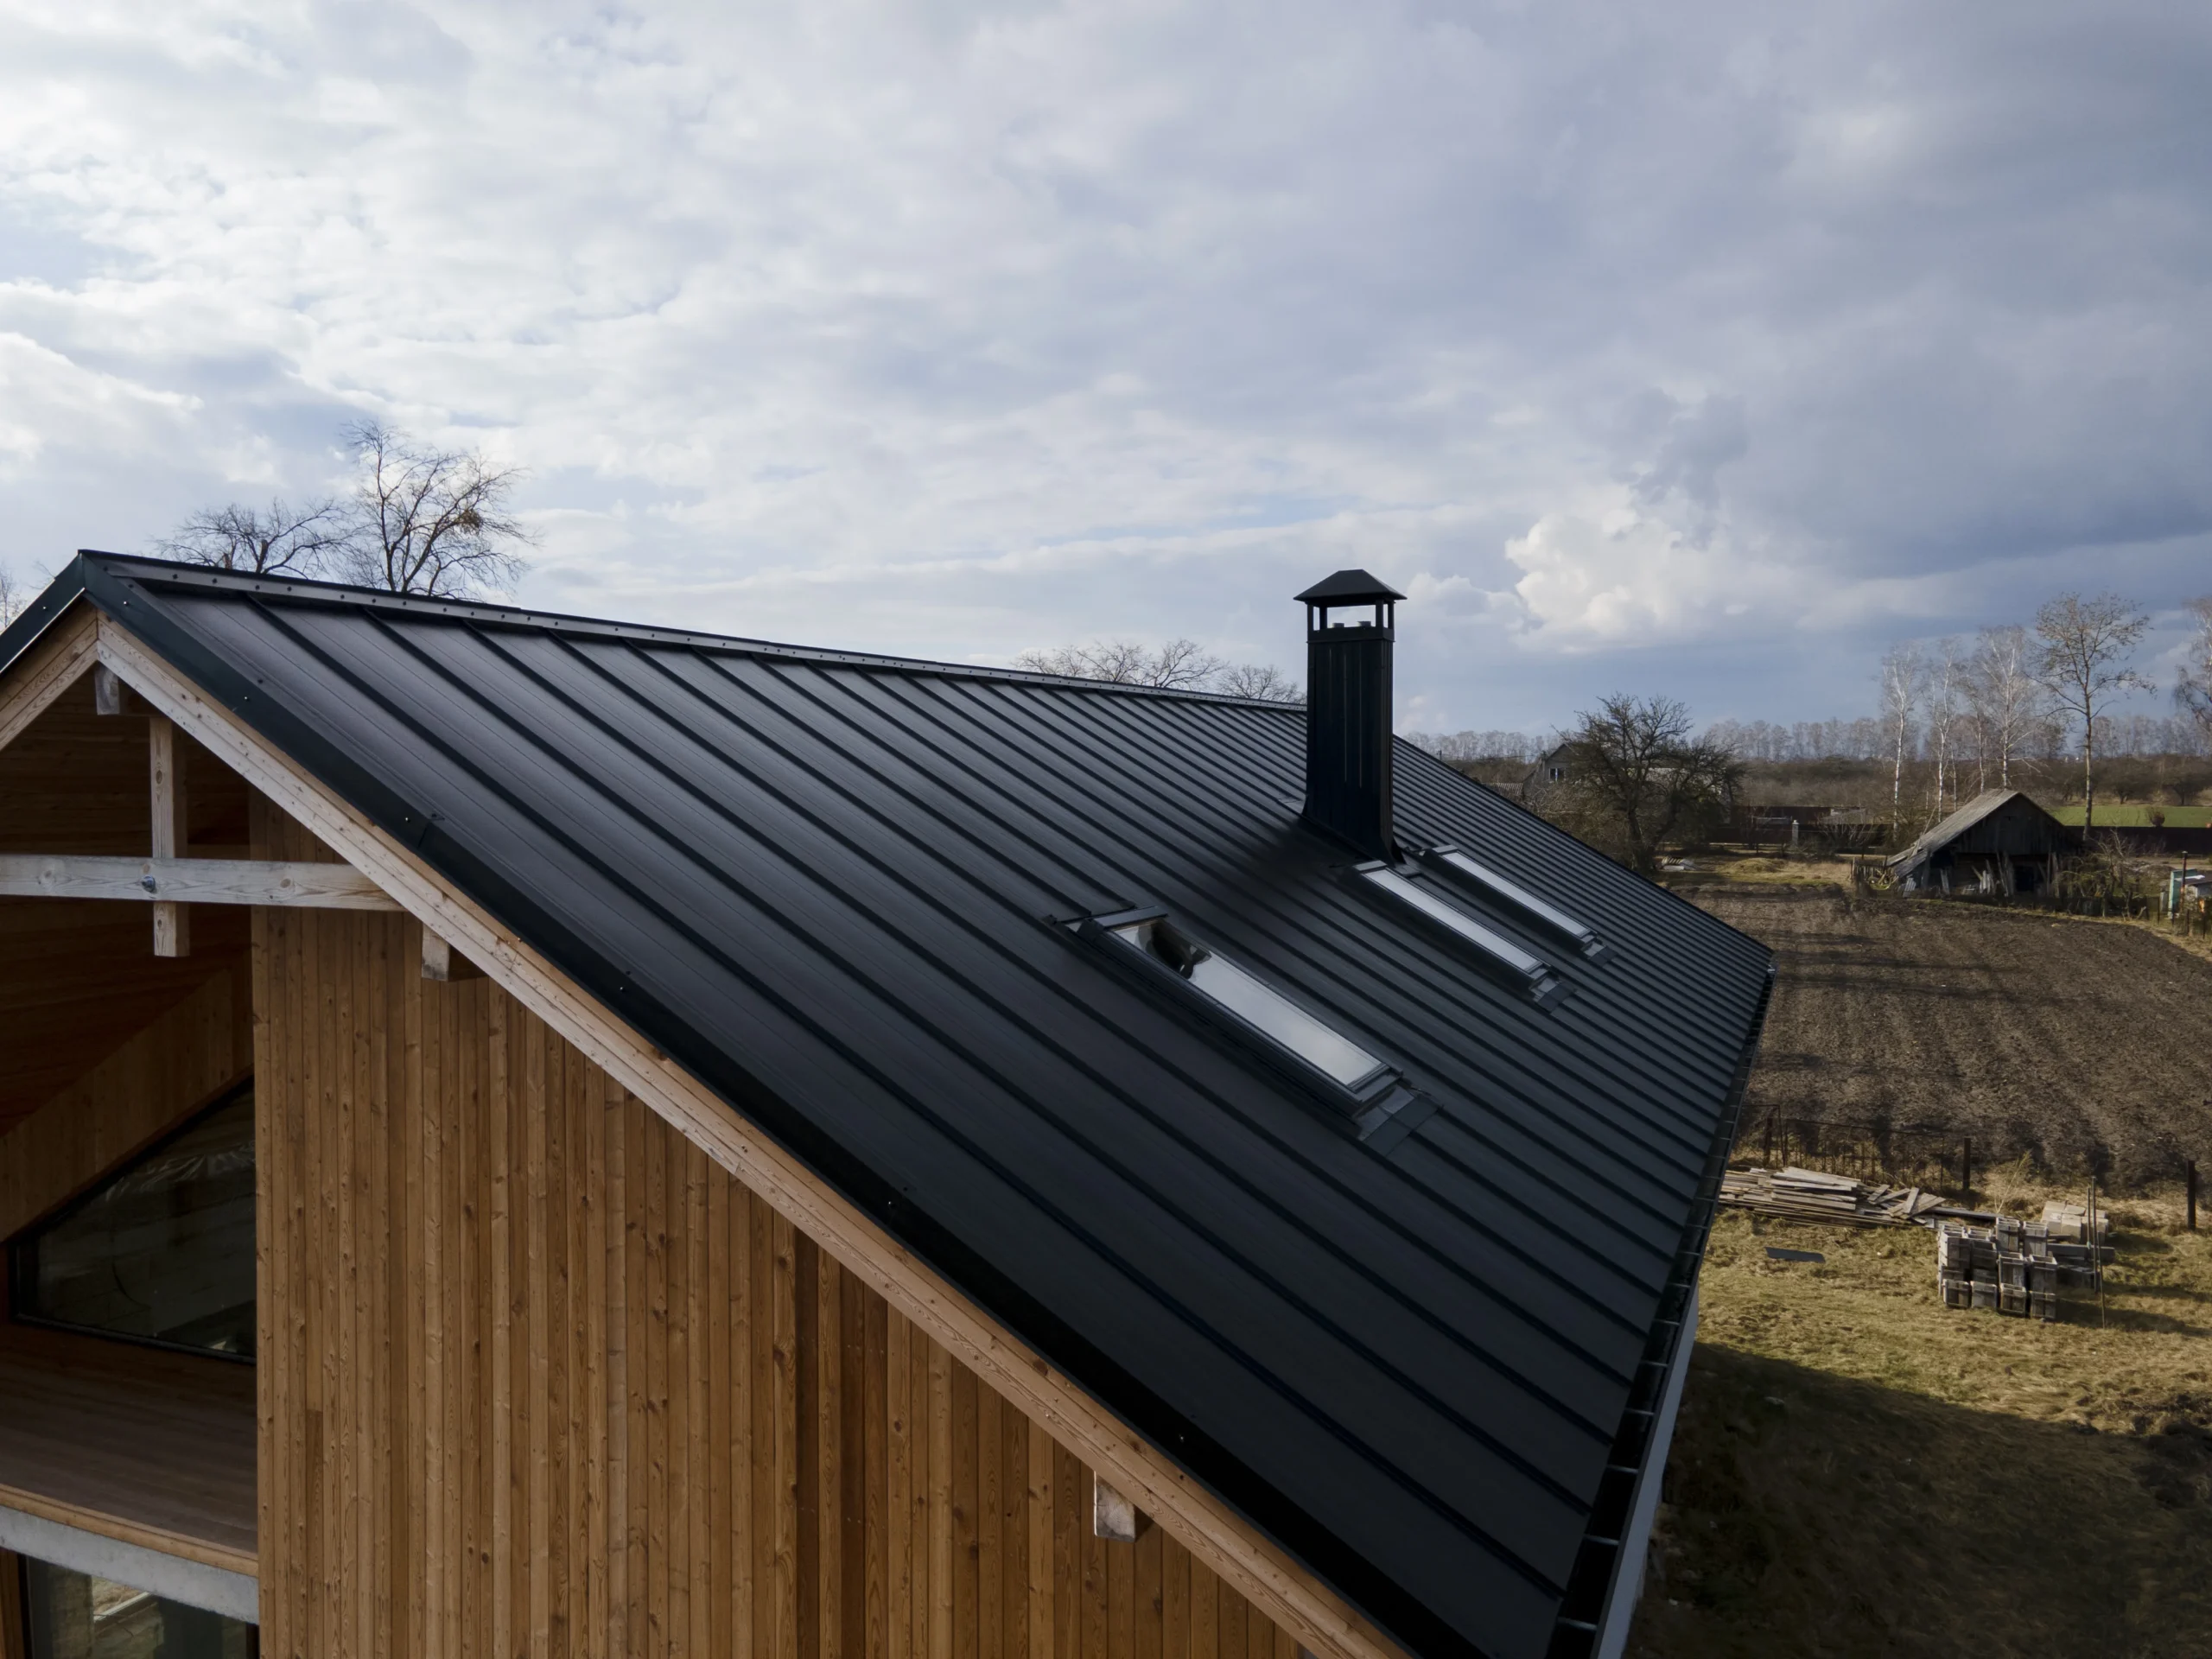
If budget allows, a simple timber deck or a small area of porcelain paving creates a more permanent foundation and adds real value to the property. Porcelain paving has become significantly more affordable in the last few years and requires almost no maintenance compared to natural stone or timber decking.
Pairing your seating area with thoughtful garden and outdoor furniture choices turns a functional corner into the most-used spot in your home during the warmer months.
Use Raised Beds to Add Structure and Growing Space
Raised beds do three things simultaneously that justify their cost almost immediately. They add strong visual structure to a garden, they create productive growing space for vegetables and herbs, and they dramatically upgrade My garden by bringing the soil up to a more comfortable working height.
Timber raised beds are straightforward to build from scaffold boards or sleepers for under $100 in materials if you are comfortable with basic tools. Ready-made metal raised beds have become popular in the last few years and suit contemporary garden styles particularly well.
Fill them with a quality topsoil and compost mix rather than cheap filler, and you will be rewarded with much better results than any in-ground bed on typical garden soil. Growing your own herbs just outside the kitchen door is a practical upgrade that makes daily life marginally but genuinely better.
A Simple Plan to Upgrade My Garden
Not every garden improvement requires the same investment. Here is a realistic framework depending on what you can spend.
| Budget | What to Focus On |
|---|---|
| Under $100 | Clear-out, edge all beds, overseed lawn, buy 2-3 statement plants, solar path lights |
| $100 to $300 | Above plus seating refresh, focal point element, decorative gravel, basic raised bed |
| $300 to $700 | Above plus lawn treatment or replacement, quality outdoor furniture, stepping stones |
| $700 and above | Full zone redesign, deck or patio, irrigation, specimen planting, fence upgrade |
Frequently Asked Questions
What is the cheapest way to Upgrade My Garden? Clearing, edging, and adding structure through strategic planting costs very little and delivers immediate visual impact. A bag of grass seed, a half-moon edger, and two or three well-chosen plants can transform a tired garden for under $50.
How do I make my small garden look better? Define zones clearly, use vertical planting to add height, choose a single focal point, and keep materials consistent. Small gardens benefit most from restraint. Three things done well beat ten things done halfway.
How long does it take to see results from garden upgrades? Cosmetic changes like edging, clearing, and adding pots are immediate. New planting fills in over one to two seasons. Lawn improvements from over-seeding take four to eight weeks to show visible results.
Is it worth replacing a lawn with artificial grass? For small gardens, heavy-use family spaces, or gardeners who genuinely dislike lawn maintenance, yes. Quality artificial grass now looks convincing and lasts 15 to 20 years. For larger gardens or those who enjoy gardening, real turf managed well is still the better choice aesthetically.
Where do I start when upgrading a neglected garden? Always start with the clear-out. Remove weeds, dead plants, broken items, and overgrown edges before assessing what you actually have. A neglected garden almost always looks significantly better after a thorough clean-up alone, which then makes every subsequent decision clearer and more purposeful.
Upgrading a garden rarely requires a complete rebuild. Most of the spaces that feel finished and considered got there through a sequence of deliberate small decisions rather than one large intervention. Start with the clear-out, define what you are working with, then add structure and detail in order of impact.
For more ideas on improving every part of your home and outdoor space, browse the home improvement guides at Home Narratives for practical, honest advice you can act on this weekend.
What part of your garden upgradation is frustrating you most right now? Start there. That is almost always the right answer.